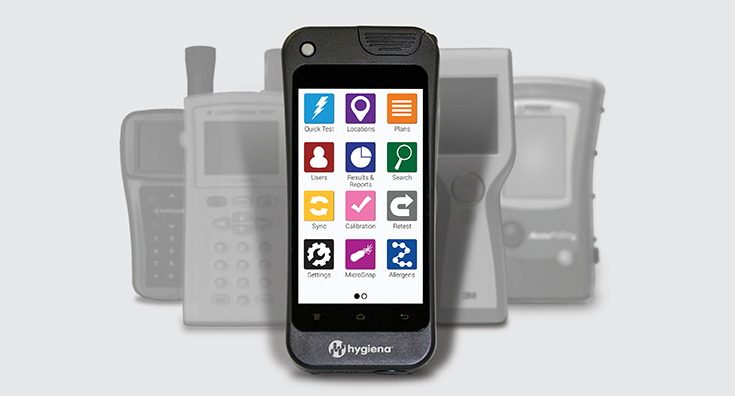
Why the EnSURE® Touch? There is no denying that ATP systems are essential tools for food safety and quality control....
-
Hygiene Monitoring
add remove
-
Diagnostic Tests
add remove
-
Lab Equipment
add remove
- Autoclaves add remove
- Balances & Weighing Equipment add remove
- Blenders & Homogenisers
- Homogenisers
- Stomachers
- Cabinets add remove
- Centrifuges add remove
- Gas Analysis & Monitoring add remove
- Glass Washers
- Hotplates & Stirrers add remove
- Incubators add remove
- Inspection Equipment
- Meters add remove
- Microscopes add remove
- NIR Instruments
- Ovens add remove
- Photometers
- Handheld Photometers
- Spectrophotometers
- Refractometers
- Refrigeration & Freezers add remove
- Shakers, Rockers & Mixers add remove
- Thermometers add remove
- Titrators add remove
- Water Baths add remove
-
Lab Consumables
add remove
-
Brands
add remove
-
- 3M™
- A&D
- Adam Equipment
- AGC
- AJ Copes
- Analox
- Ansell
- Aqualab
- Asecos
- Atago
- Aurelia
- Aurora Scientific
- Azlon
- Azo by Vernacare
- BD
- Bellingham + Stanley
- Binder
- Biochrom
- Buchi
- Challenger
- Clifton by Nickel Electro
- Comark
- CoolMed
- Corning
- Decon
- DeLaval
- Delvo
- Detectamet
- Dimanco
- Ebro
- Eppendorf
- Esco
- ETI
- EUTECH
- Funke Gerber
- Gem Scientific
- Genesys
- Genlab
- Geotech
- Gerber Instruments
- Gilson
- Grant Instruments
- Greiner Bio-One
- Hach
- Haier Biomedical
- Hanna Instruments
- Horiba
- Hydrosense
- Hygiena®
- IDEXX
- IK
- IKA
- Jaytec
- Jenway
- JIM Engineering
- Johnsons
- Labcold
- Liebherr
- Lovibond
- Lynd Products
- Medline Scientific
- Mettler Toledo
- Miele
- Milwaukee Instruments
- Minebea Intec
- Monmouth Scientific
- Motic
- MSE
- Neogen®
- Ohaus
- Olympus
- Oxoid
- PDI
- Prestige Medical
- Priorclave
- Purite
- Pyrex
- r-Biopharm
- Rotronic
- Sartorius
- Schaller
- SciQuip
- Senses
- Seward
- SLS
- Solotech
- Solus
- Steris
- Stomacher
- Stuart
- Surfaceskins
- Sychem
- Testo
- TSC
- Virkon
- VWR
- Whatman
- Wheaton
- Whirl-Pak
- WTW
- Xylem
- YSI
- Zahm and Nagel
- Zenith
-
- Sale & Offers add remove
- Knowledge Hub add remove
